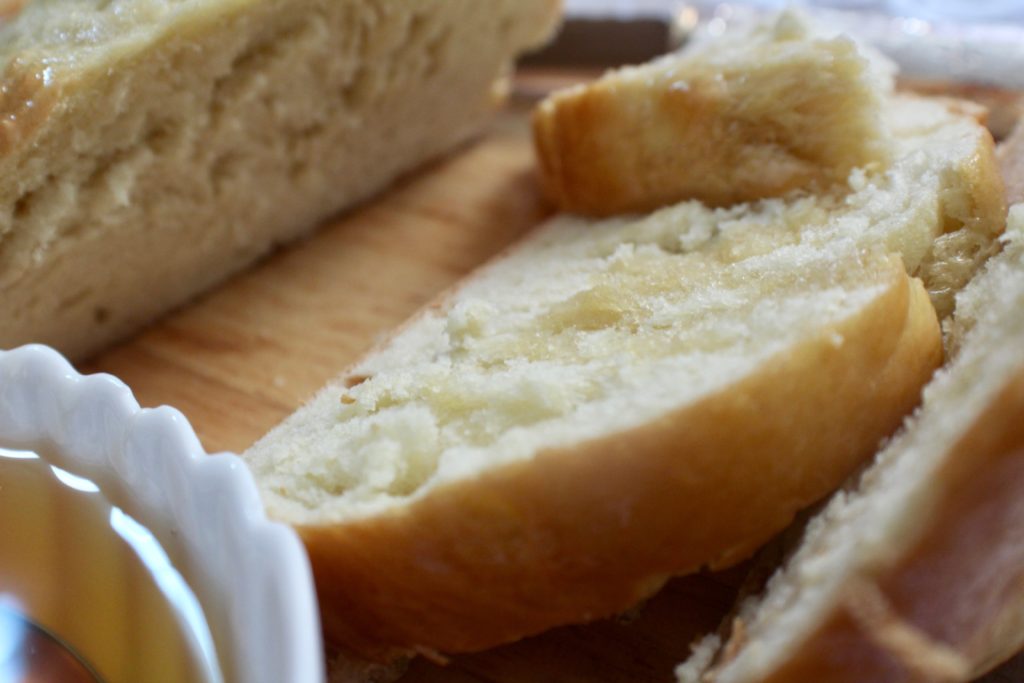
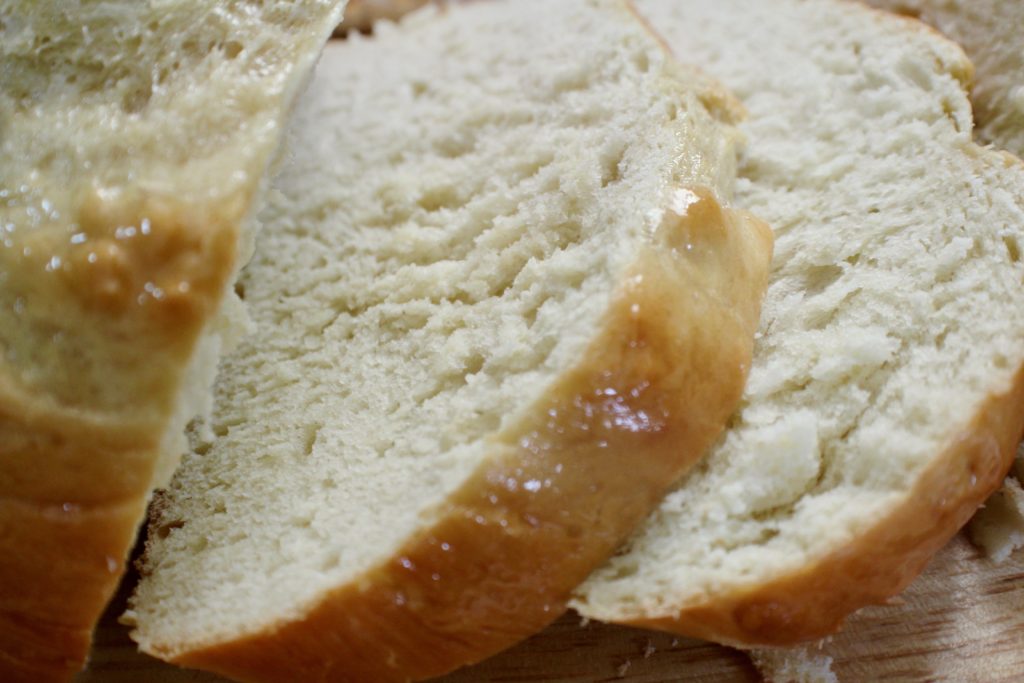
Everything you love about traditional Jewish challah: fluffy white slices, a cake like texture, and a wonderfully easy dough: all in half an hour.
If it wasn’t me saying this, I probably wouldn’t believe it, because normal challah dough is usually a labor of love. A looooooong labor.
First we get a work out: kneading a huge round of dough for 10 minutes at the least.
The we let it sit and double in size, most often for an hour or more, at which point the kitchen has become full of all the other ingredients for a bunch of other dishes, and we’ve all but forgotten about our baby in a bowl. Quickly the counter is cleaned and space is made before the challah over-expands and engulfs everything in its path.
Serve this with some of our favorites:
We start to weigh out balls and begin to braid, trying to daven(pray) while also warding off little hands from touching every little piece of dough. Then we run around the kitchen(or is this just me?) looking for places to put all the baking trays filled with beautiful braids while they rest and rise again.
Egg-brush is next and then bake and…. should I even go on?
While “taking challah” is a huge mitzvah, and the whole process is filled with love and wonder and prayers- the bottom line is that it takes hours.
Because of that, many Friends of mine just don’t do it. They don’t have time to spend all morning on one mission, even though they would oh so love to have homemade braids sitting at the shabbat table. Sometimes life gets in the way and we need a more practical alternative.
An easy-mom alternative.
A Half Hour Challah.
OMG guess what you’ve come to the right post! Now is when we can get excited. This recipe has been a long time in the making…..
A couple years ago I found a recipe for 30 minute dinner rolls. They were fabulous and an absolute delight to whip up and enjoy with French Onion Soup and just about anything else I could pair them with. I figured, if these rolls come together so quick, why can’t we try it with challah?
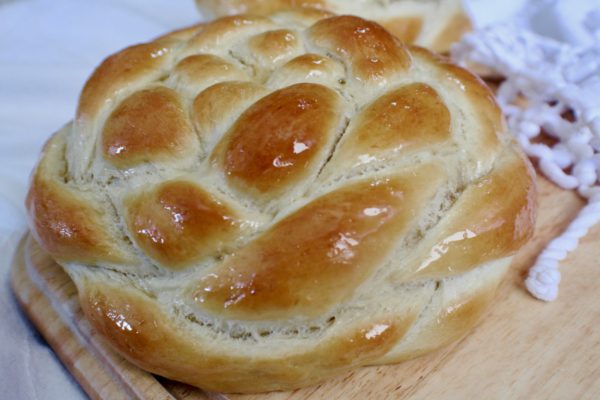
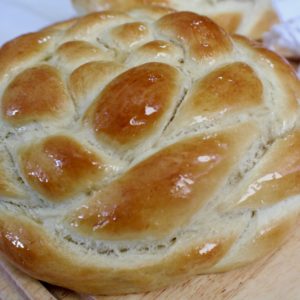
Hence was born this lovely bread. Eggy, soft, and pillow-fluffy.
just look at it!!!!!!!!

Because of the high amount of yeast, the bread doesn’t need to rise a lot. Scratch the entire first rise and most of the second. Our challah will be braided immediately after kneading, and then sit for a mere 10 minutes before getting an egg wash and being placed in the oven.
It is noted that the longer a dough sits and ferments, the more flavorful it will be. To combat having a bland slice, we are adding other flavors-honey and olive oil. This will give the bread a rich, sweet bite, so no substitutions!!!
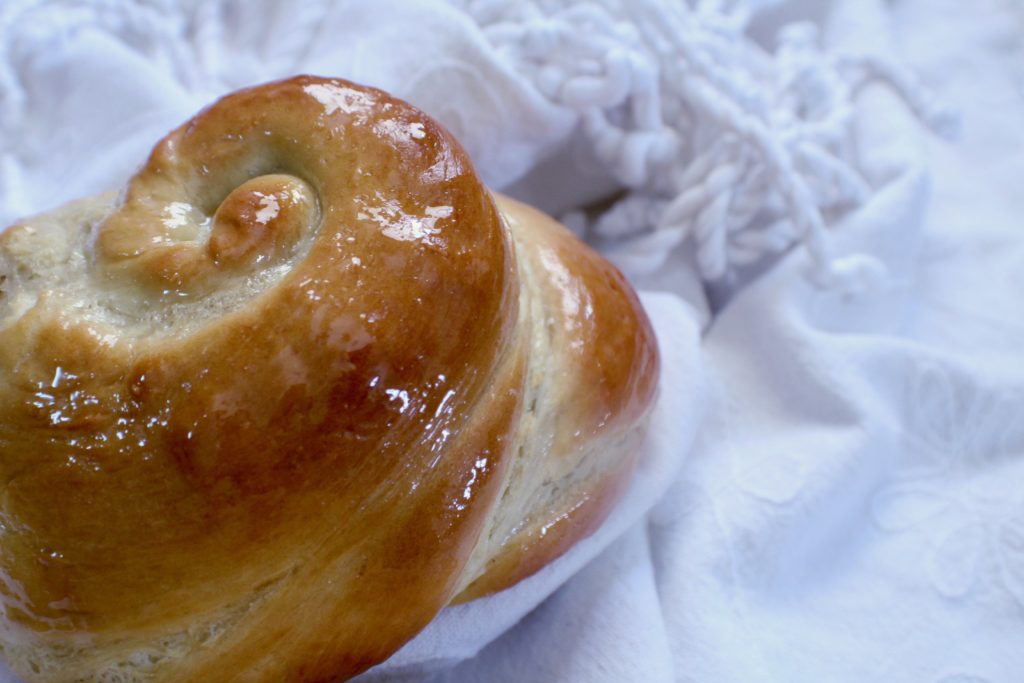
For the lovely golden top, we are brushing the challah braids with a egg-wash[ which is a beaten egg mixed with a splash of water] before being baked.
While the bread bakes, we will heat up honey and a little water to create a “sugar syrup”.
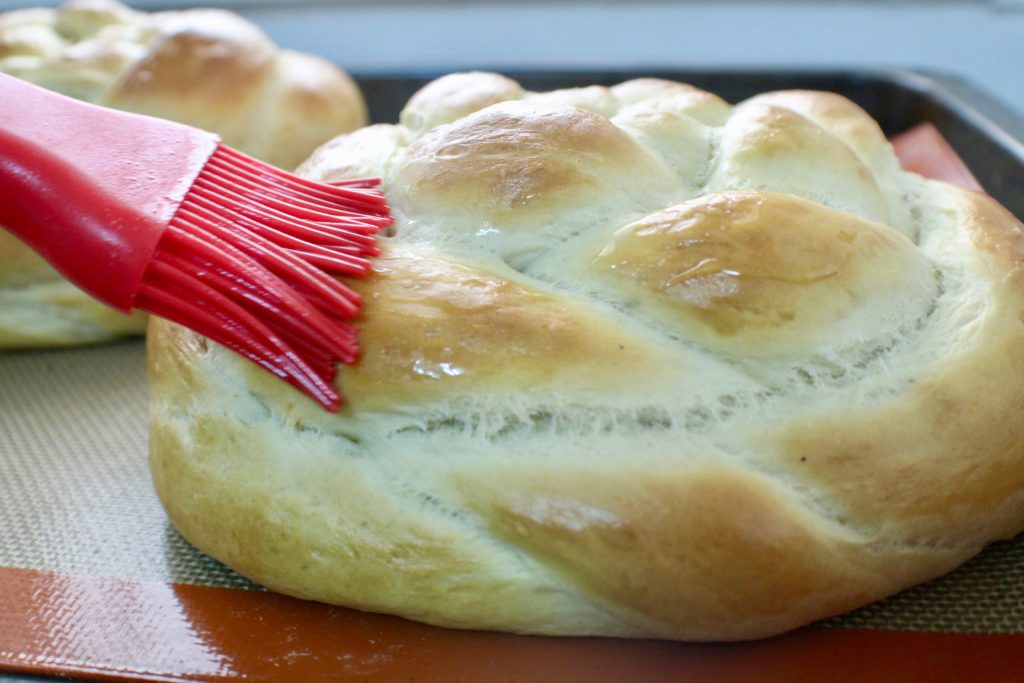
Then hot out of the oven, our loaves will be brushed again. This honey wash is special for Rosh Hashanah, and yes it is sticky! It will harden once cooled, and give the crust a wonderful crunch that pairs perfectly with the soft center.
Now that we have the low down, let’s see the process and get baking!!!
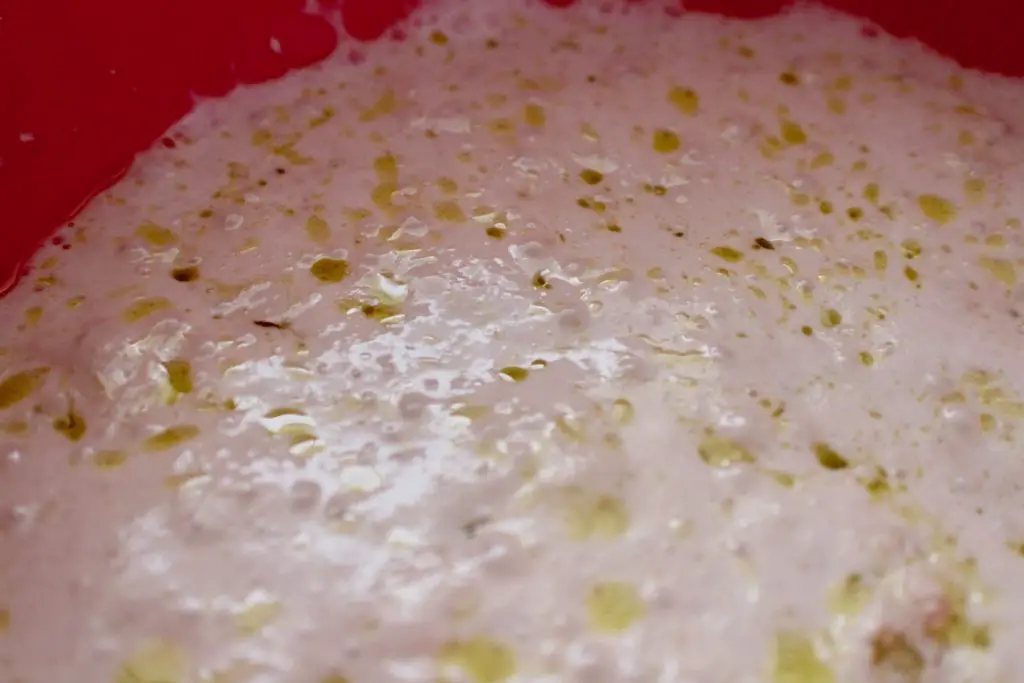
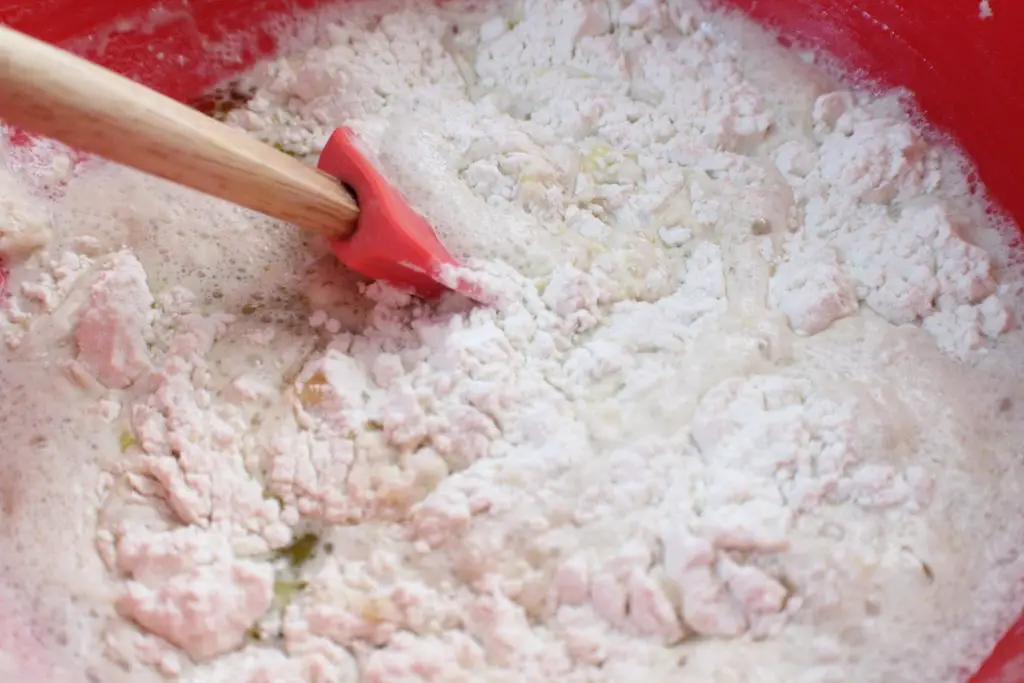
Let yeast sit for 5 minutes until nice and bubbly. Add in some flour.
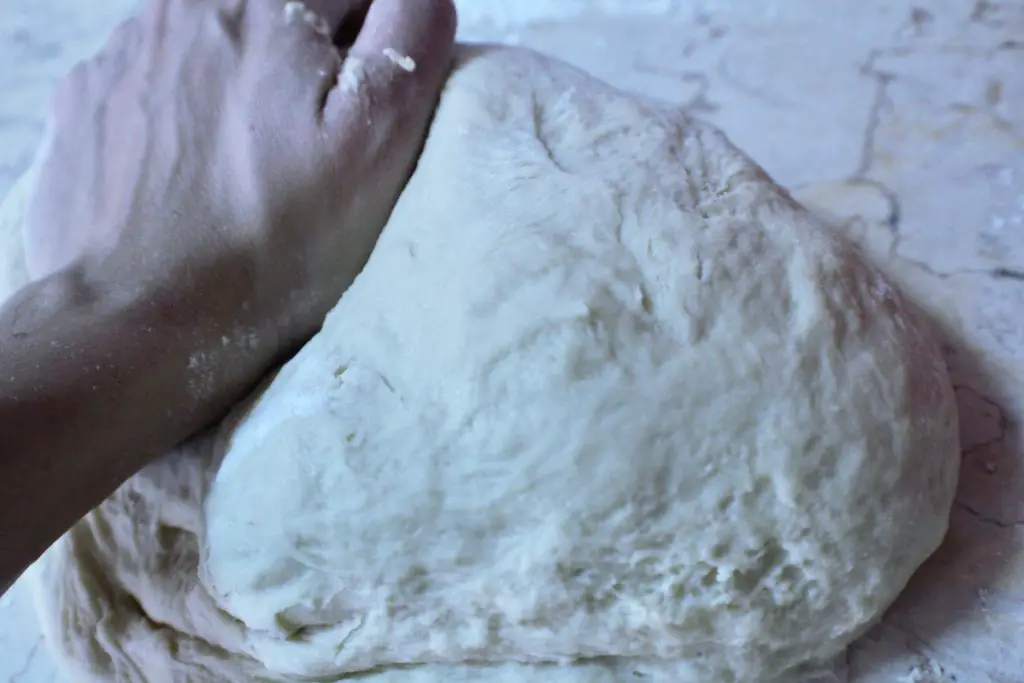
Knead for a minute or two, until the all the flour is incorporated the dough is nice and smooth.

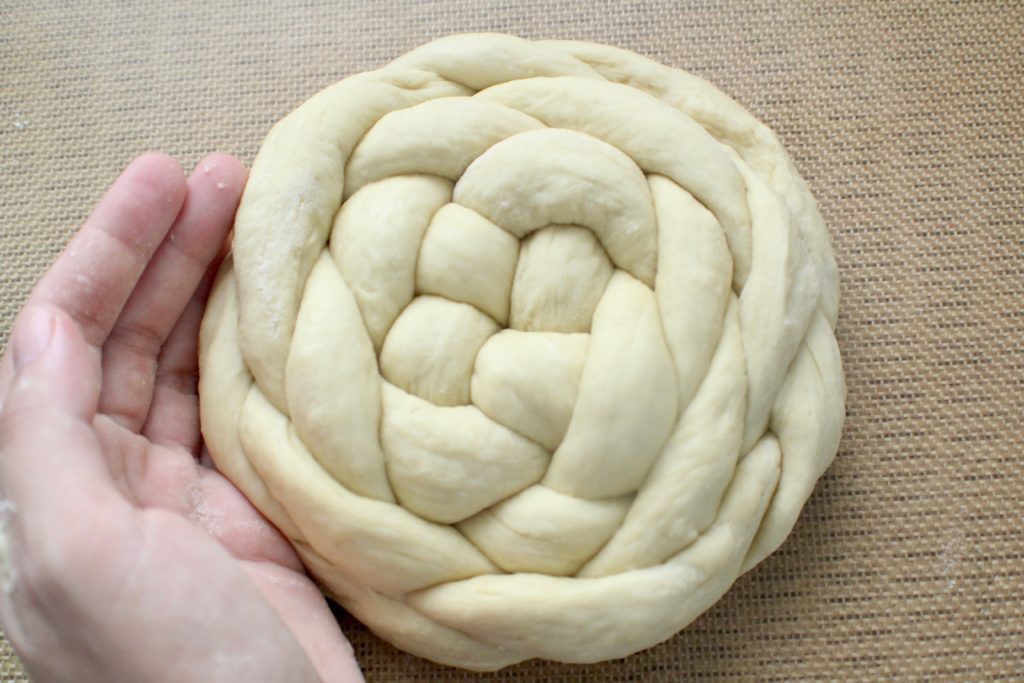
Braid..
You can get a non stick Silpat baking mat just like mine right here. I use it for everything!
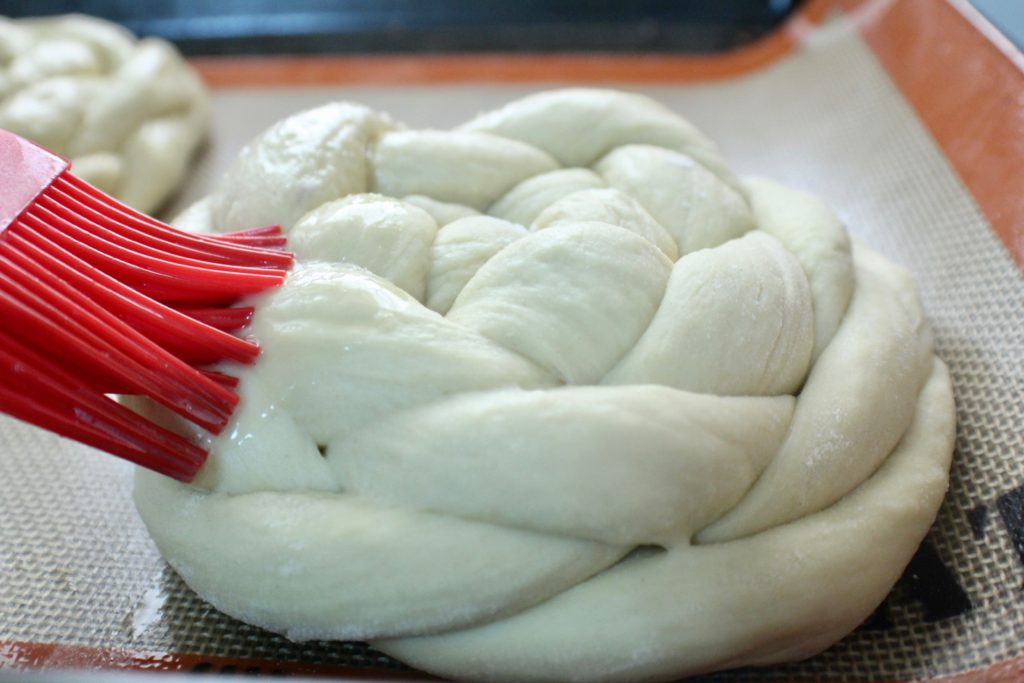
brush with egg wash and bake.
Brush with honey syrup….EAT!
Half Hour Honey Olive Oil Challah
Ingredients
- 1 1/2 cup warm water
- 2 Tbs dry instant yeast
- 1/8 tsp sugar
- 1/3 cup olive oil
- 1/4 cup honey
- 2 tsp salt
- 2 eggs
- 5 3/4 cup sifted white flour
Egg Wash
- 1 egg
- 1 tsp Water
Honey Glaze
- 1 Tbs honey
- 1 Tbs Water
Instructions
Activate Yeast
- In a large mixing bowl, place warm water, yeast, sugar, and olive oil. mix to combine. Let sit for 5 minutes, or until foamy and bubbly on top. While the yeast is sitting, prepare your baking trays with baking sheets or oil baking pans(depending on the shape you want).
Add Ingredients
- To the yeast mix, add honey, salt, eggs, and 3 cups of flour. Mix with a spatula. Add in 2 1/2 cups more flour and mix until dough comes together.
Knead
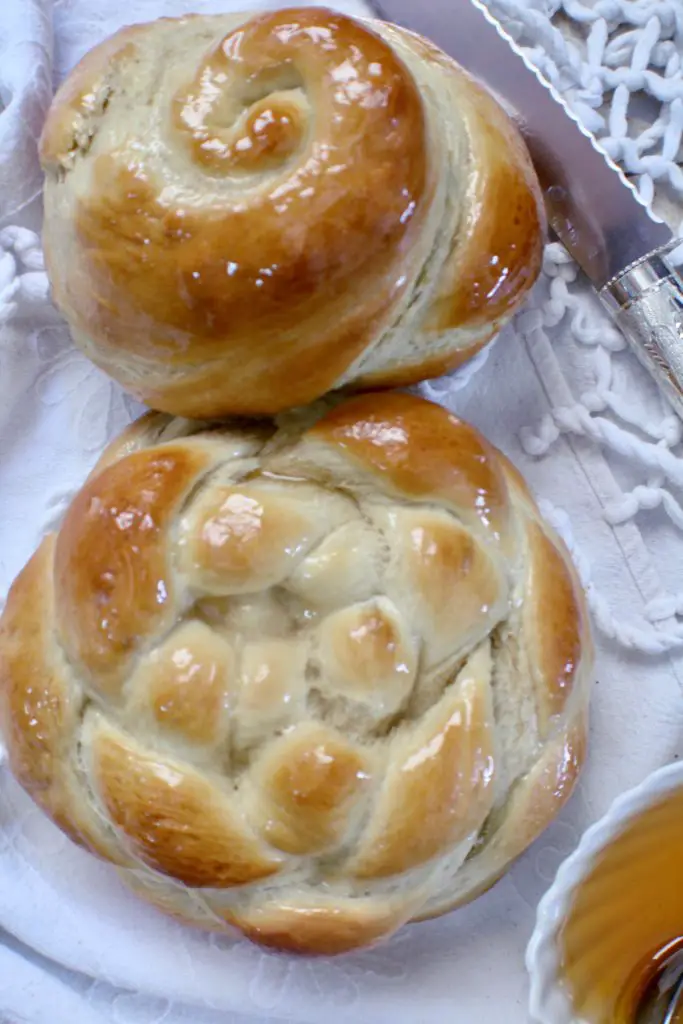
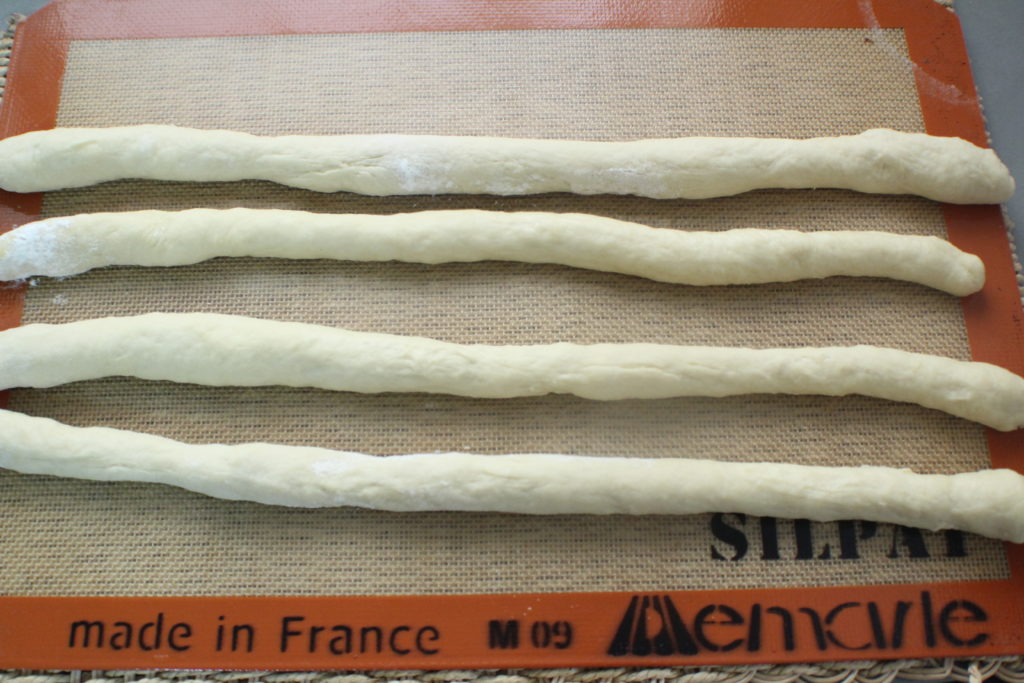
- Once all the flour in incorporated, turn dough out of the bowl onto a floured counter. Sprinkle over 1/8 cup flour and knead. If the dough is extremely sticky, add another 1/8 cup flour. Knead for about 2 minutes, until all the flour in incorporated and the dough is smooth. It will be on the sticky side! Sprinkle your work surface with flour and spray hands with cooking spray. With a knife, cut dough into desired amount of pieces. (I made two large 4-strand braids and one medium) If you are rolling them out to braid sprinkle only enough flour that they don't stick to the counter. Braid and place gently on baking sheets and let rest for 10 minutes.
Bake
- Preheat oven to 200c. Whisk together the egg and water and lightly brush the tops of the challahs with a pastry brush. (you can sprinkle with poppy seeds if you like!) Place in oven to bake for 10-15 minutes(depending on your oven). Tops should be golden and when tapped on the bottom, it should sound hollow.
Honey Glaze
- In a small saucepan, heat honey and water and bring to a boil. cook for an additional 30 seconds- it should thicken a little. While challah is hot, brush them with glaze using a pastry brush(handy thing!). These can be frozen right away- wrap in aluminum foil and place in an airtight ziplock and in the freezer. Store at room temp in a cool place in an airtight bag. Enjoy!
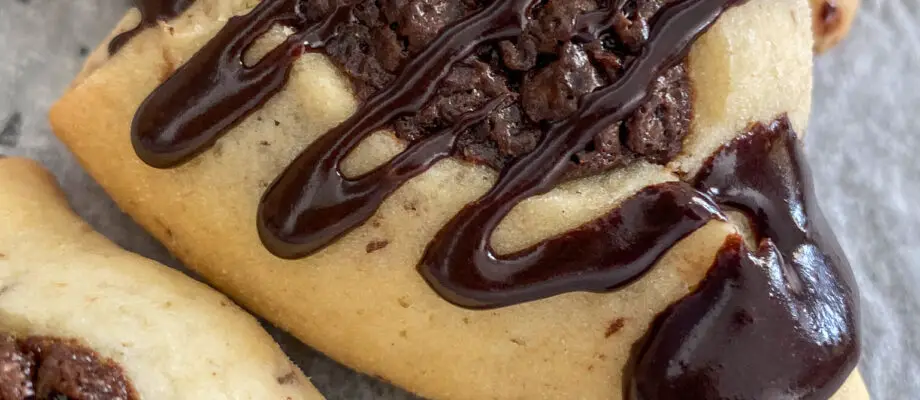
![Vegan Date and Pecan Bars [Chocolate Covered]](https://soulandstreusel.com/wp-content/uploads/2023/02/IMG_9212-920x400.jpg)


This just looks fantastic
Half hour? That’s amazing! Loving that shine the honey glaze gives to the top.
How genius is that? I can’t wait to try this recipe!
This bread looks so beautiful and perfecf. Interesting recipe. Must try!
30 min?? Yes please! I’m definitely trying this for Rosh Hashanah this year. To be honest, not a great baker so I’ll still grab a back up loaf haha – but I’m going to give it my best shot!
Can’t wait to hear how it comes out! It’s my go-to! Thanks for the comment 🙂
How well does it freeze once baked? Would you put the glaze on before or after freezing?
They freeze beautifully! Don’t glaze- and wrap in aluminum foil when warm from the oven, place in an airtight ziplock and then in the freezer. To defrost, unwrap and leave on the counter- you can reheat and then glaze. Hope you enjoy!
I love this challah recipe. I’ve been making it for a few weeks now and it really is as simple as the recipe says. Rather than faffing around for over two hours this takes me under an hour. I even made it this past Friday when we had early Shabbat and still had lots of time to spare to cook. It’s not only easy but delicious too. Real winner for the family!!!
Can one substitute white spelt instead of the flour?
I haven’t personally tried it, but it should be fine! Let me know how it comes out!
Spelt is great in this !
happy to hear! did you use full spelt or also some white flour?
Hi, You. refer to the Flour as White Flour,
is that a Bread Flour, or All Purpose Flour. I
am a beginner baker & wish to get it right,
Thanks much for this recipe that helps not to
overwhelm a less experienced baker.
Ellen Deitell Newman
NYCb
hi! this recipe calls for all purpose flour!
What kind of olive oil do you use? Light/extra virgin?
Thanks!
I use extra virgin olive oil!
This is so easy and my go to recipe!!!
Could I substitute the white flour with wheat flour, and would all the other ingredient portions remain the same quantity, also would baking tempt. and timing change?
Thank you!
I made this last week and the texture was fantastic, but I did not make the glaze so maybe that’s why the challah wasn’t as sweet as I would’ve liked it so if I want to add more sugar instead of making the glaze how much more sugar should I add and where in the recipe to add the sugar? with the yeast or with the other dry ingredients?