
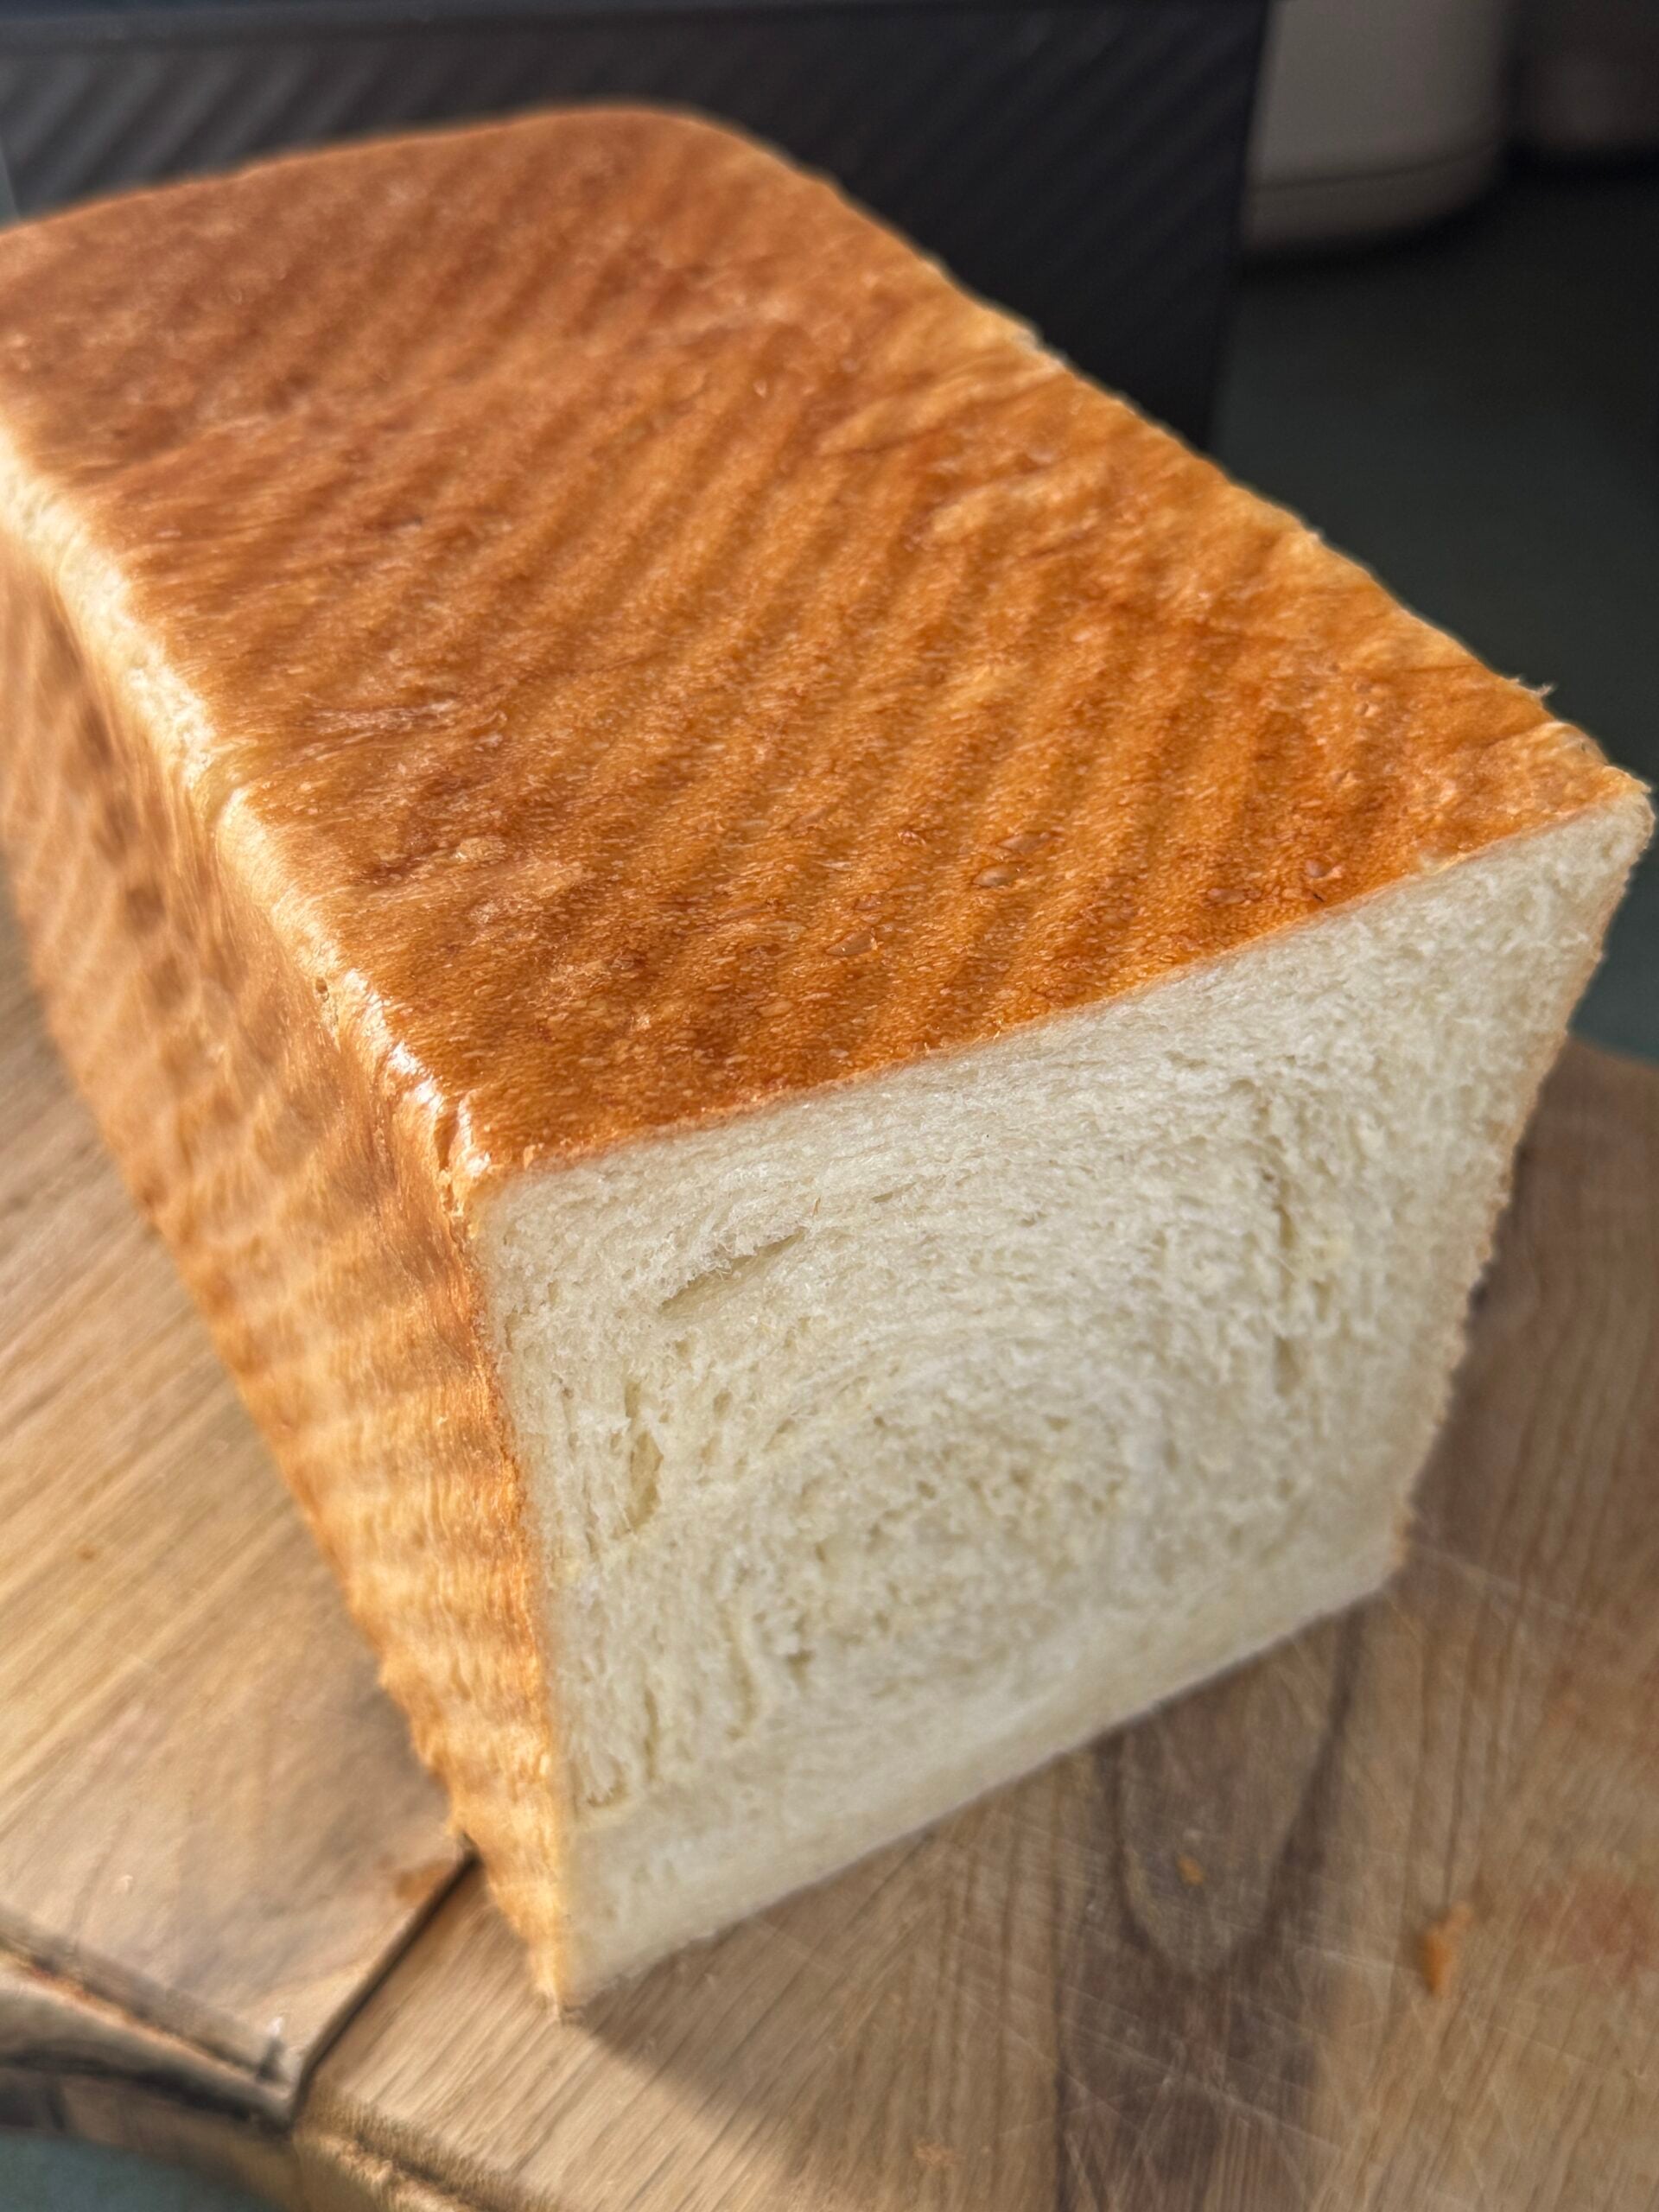
The days of soft fluffy homemade sandwich bread are here….and you wont ever want a supermarket loaf again! This is a big batch family recipe to make 3 loaves at once, and completely dairy free. Lets’ make some bread!
Why You’ll Love this Homemade Sandwich Bread
I started making bread at home when my family began to grow- just for school lunches we were going through a loaf a day..and when you want the best fluffy cloud-like white bread, the cost is much higher.
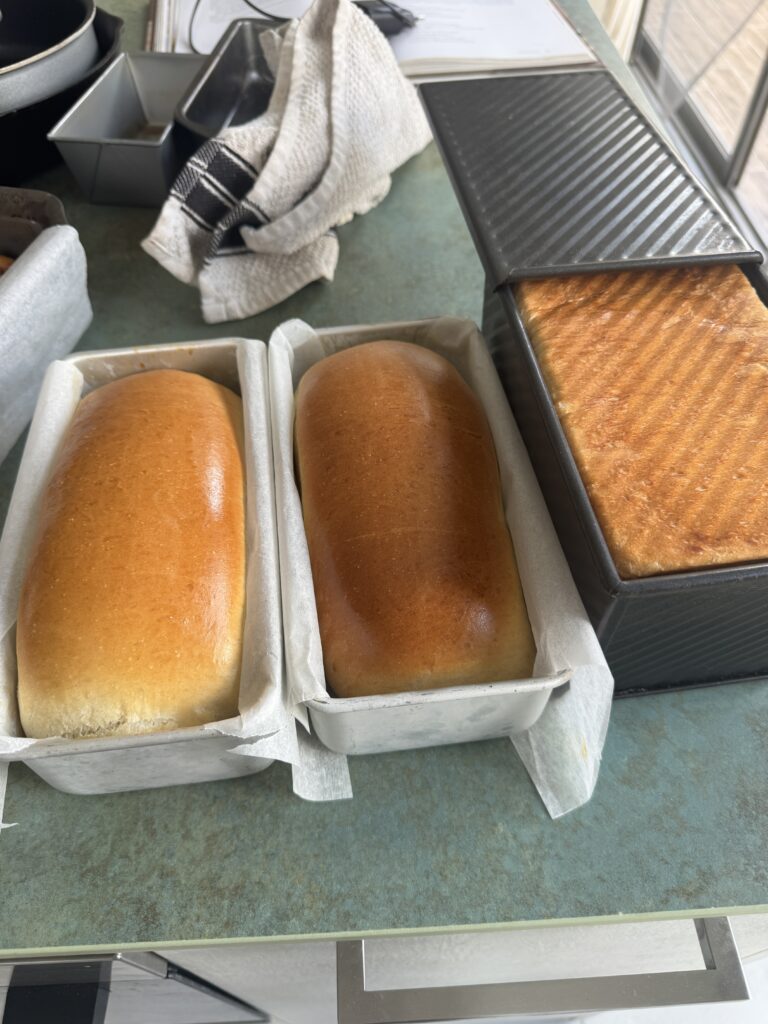
To save money (each loaf costs about when made homemade), i created this recipe, and your family is going to love it! My kids are a little spoiled now when it comes to good bread…
The recipe makes three full loaves, so it’s especially practical for a big family or anyone who likes to bake once and have bread ready for the week(i freeze two still warm, tips in the post!)
What makes this recipe different
- Makes three loaves from one batch
- Completely dairy-free—no milk and no butter, or margarine
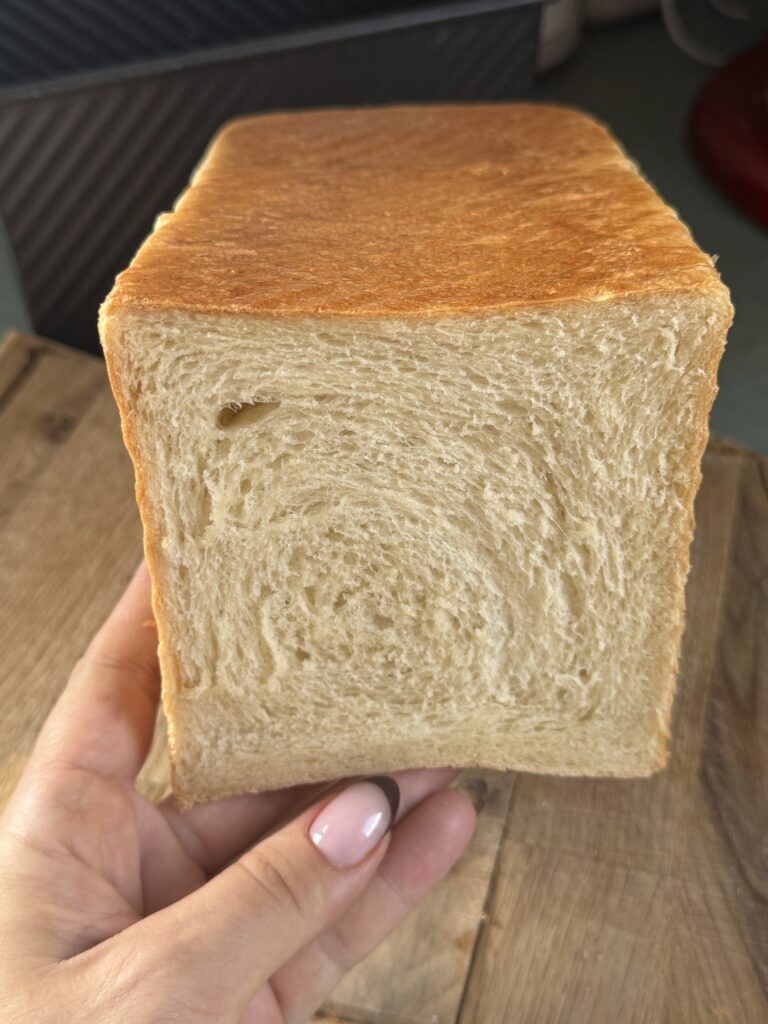
- Soft and fluffy with almost brioche-like strands
- Great for sandwiches, toast, school lunches, and French toast
- Freezes well, so you can save a loaf, or two for later in the week
What does homemade sandwich bread cost to make?
This recipe makes three loaves for roughly $3–$5 total, depending on the ingredients you use—that’s about $1–$1.65 per loaf.
Is bread dairy-free?
Not all sandwich bread is dairy-free. While many basic bread recipes(like this delicious focaccia bread) are made with just flour, water, yeast, salt, and oil, some sandwich breads, especially those claiming to be “soft and fluffy” contain milk, butter, or other dairy ingredients to make them softer and richer.
This homemade sandwich bread is completely dairy-free, using oil instead of butter and no milk at all. So if you’ve been wondering, “Is bread dairy-free?”, the answer is: sometimes—but you’ll want to check the ingredients.
3 Tips for the best homemade sandwich bread
- Don’t add too much flour- as you knead the dough it will become less sticky without any extra flour
- Give the dough enough time to rise- this is usually 60 minutes for the first rise and 30-40 minutes once the loaves are shaped
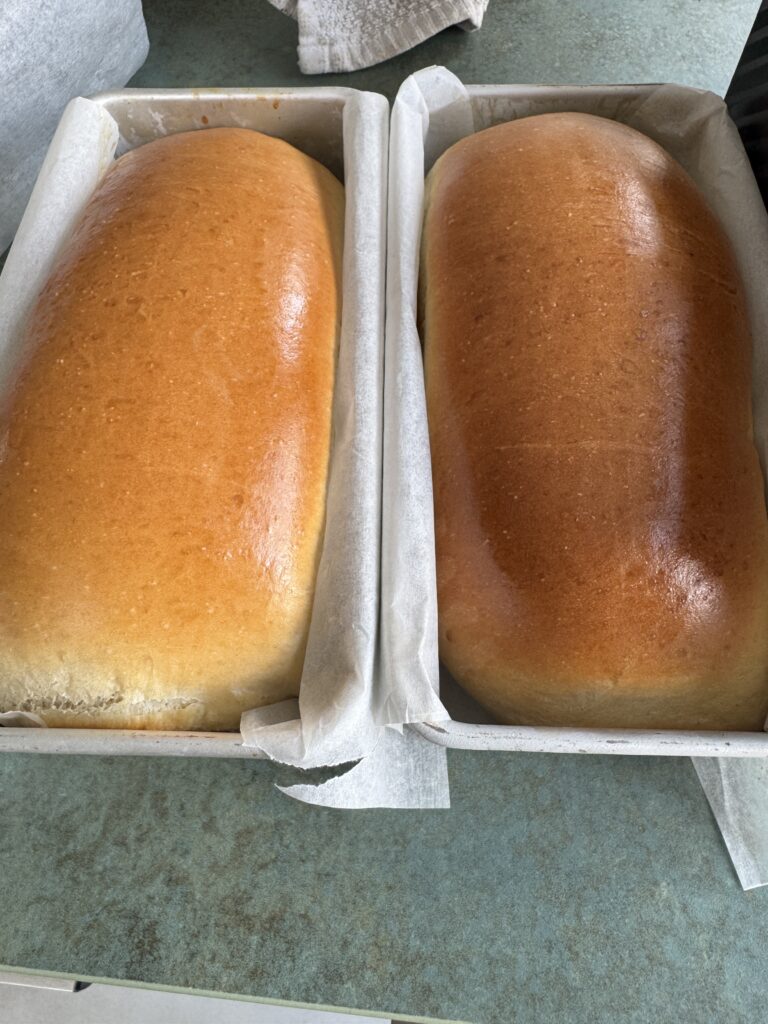
- Use an egg wash for beautiful golden crust (one egg whisked with a tablespoon of water)
Why I use strong flour for this bread
The first time I made this bread, I used a strong Tipo 0 flour (Manitoba-style flour), and I was honestly surprised by how soft and fluffy the loaves turned out. The bread had that almost brioche-like, pull-apart texture even though there’s no milk or butter in the dough.
A strong flour has more protein than regular all-purpose flour, which helps the dough develop a stronger gluten structure. That gives the bread enough structure to rise beautifully while still staying soft and fluffy. Find this flour in the flour section of your local supermarket- it really makes a difference!
Loaf pans: This recipe makes three loaves. I use 1-pound Pullman-style loaf pans, approximately 8×4 inches. You’ll need three pans for the full recipe. You can also use open loaf pans.
To get these pans on Amazon:
I use these 1-pound Pullman loaf pans for this recipe.
How to store your homemade sandwich bread
I use around a loaf a day for my kids lunches and breakfast, so ill leave one loaf on the counter overnight, wrapped in tin foil or plastic wrap once its cooled, and immediately freeze the other 2 loaves.
Can I freeze homemade sandwich bread?
Yes—this is actually especially useful with a three-loaf recipe. You can keep one loaf out and freeze the others. My trick for the freshest tasting bread is to not let it cool completely- i place a paper towel on the bread to collect any moisture and put it in a ziplock bag and directly into the freezer while still just warm.
To defrost take it out of the bag(so it’s not sitting in condensation), and let thaw for around 25 minutes. You can gently warm it in the oven if you want it hot, or slice it for toast. Either way, it will taste incredibly fresh!
Frequently Asked Questions
How is the bread square?
There is a special loaf pan to make square, supermarket-style loaves. It’s essentially a square loaf pan with a lid and sharp corners, usually non stick. They are super fun to use and i highly recommend getting three!
What makes this sandwich bread soft if there is no butter?
The egg in this recipe adds richness to the loaf and canola oil gives the bread a soft texture.
Can I use all-purpose flour instead of strong flour?
Yes! You can make this bread with regular all-purpose flour. The finished bread may have a slightly different texture and may not have quite the same chewy, stretchy, pull-apart quality as when you use strong flour, but it will still make delicious homemade sandwich bread.
For the softest, fluffiest result, I recommend using a strong bread flour or Tipo 0 flour with a higher protein content.
How long does homemade sandwich bread last?
Left out on the counter overnight and properly wrapped, this bread is still just as beautiful, soft and fluffy on day 2. Honestly, i have never had a loaf last longer than that- it just gets gobbled up!
How many loaves does this recipe make?
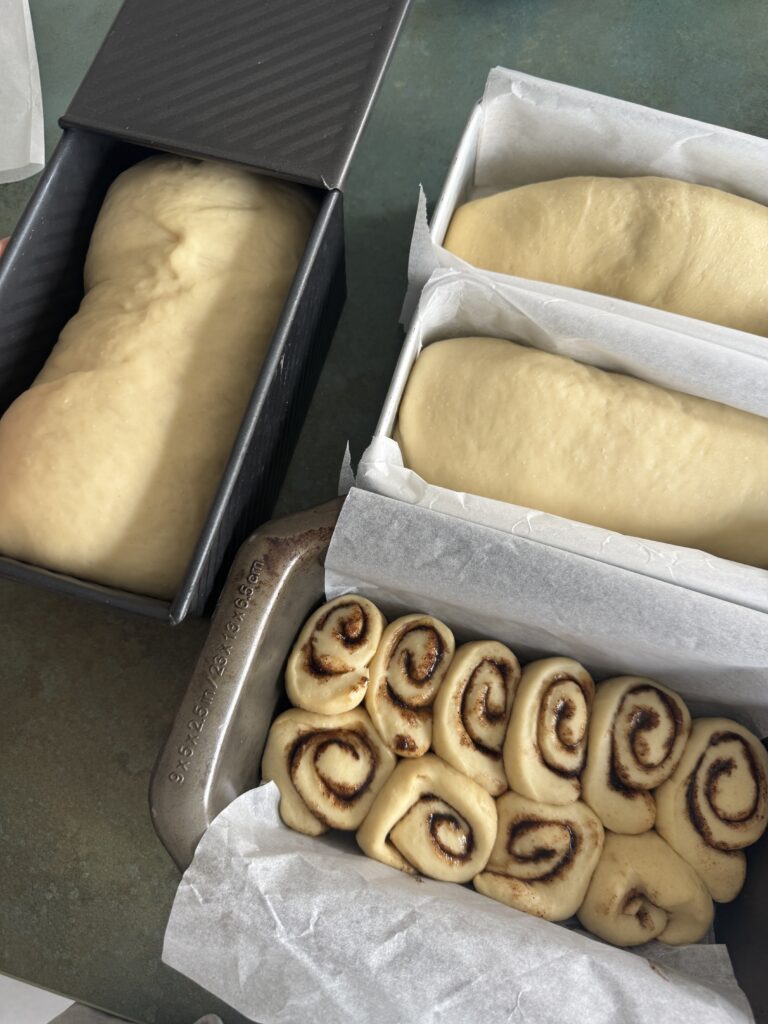
This recipe makes three, 9’5 loaves or 1 big loaf, 2 smaller loaves, and a mini tray of cinnamon buns(maybe my favorite way to split the dough!).
For the cinnamon buns i just roll out the smaller dough piece into a rectangle, brush with oil, sprinkle with cinnamon sugar, roll up and slice, then proof as normal with the other loaves. They’re usually eaten immediately as I pull them from the oven but you could add a sugar glaze or cream cheese frosting for a quick breakfast! Yum!
Homemade Sandwich Bread (dairy free, big batch)
Ingredients
- 800 grams (6 1/2) cups Tipo 0 Manitoba strong flour
- 1 tablespoon instant yeast
- 1 tablespoon salt
- 1/4 cup sugar 50g
- 2 cups Filtered water
- 1 egg
- 6 tablespoons neutral oil about 80g
- Egg wash for brushing
Instructions
- Add the flour, yeast, salt, and sugar to the bowl of a stand mixer and mix briefly to combine, or use a big bowl and a whisk.
- Add the egg and begin kneading with the dough hook on low speed. Slowly pour in the water while the mixer is running. Once the dough comes together, add the oil gradually, allowing each addition to incorporate before adding more.If using a bowl, switch from the whisk to a spatula and once the dough comes together, knead by hand until no longer sticky(do not add more flour)
- Continue kneading for about 8–10 minutes, until the dough is smooth, soft, and elastic. It should feel slightly tacky but should mostly pull away from the sides of the bowl.
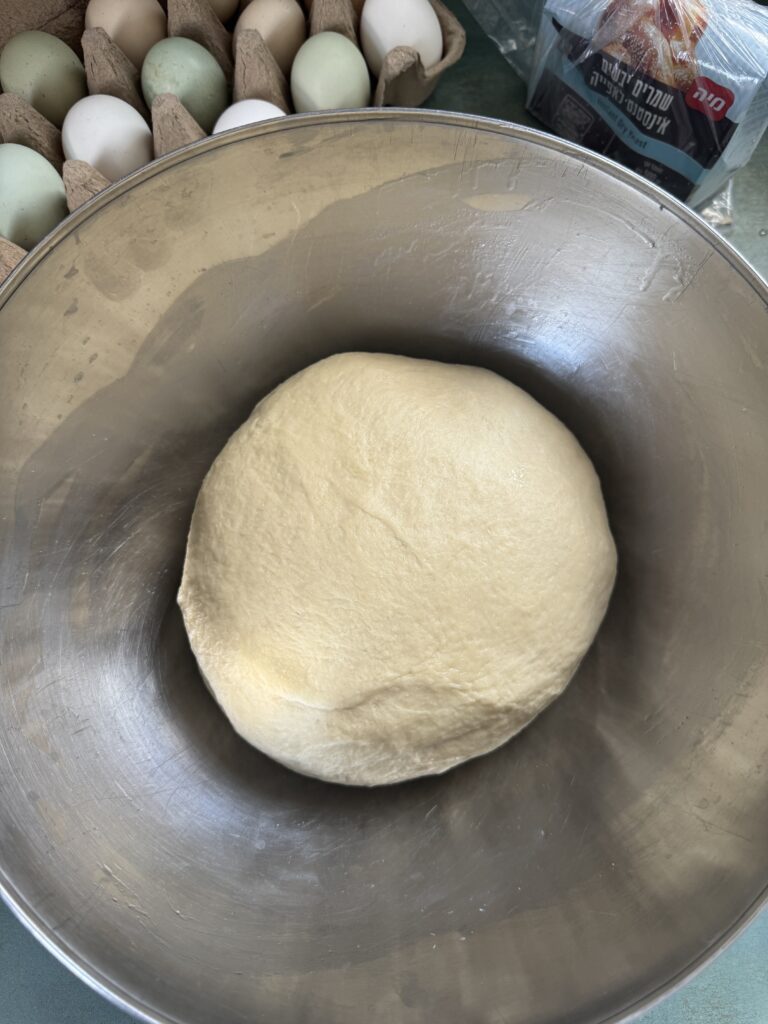
- Cover the bowl and let the dough rise for about 1 hour, or until doubled in size.
- Turn the dough onto a clean work surface and gently press out the air. Divide the dough evenly into 3 pieces.
- Roll each piece into a rectangle. Roll the dough tightly into a log, starting from the short end, and pinch the seam closed. Place each loaf seam-side down in a greased 1-lb loaf pan.
- Cover and let rise again for about 30-45 minutes, or until the dough has risen and looks light and puffy.
- Brush the tops with beaten egg whisked with 1 tablespoon water.
- Bake at 350°F (180°C) for 25–30 minutes, until golden brown and the loaves sound hollow when tapped.
- Remove from the pans and let cool on a rack before slicing.
Notes



Leave a Reply